
In this article, I will be going through the step by step process of creating a react blog which supports more than one language. A multi-language blog is essential for growing your business with content marketing targeting an international audience.
Prerequisites
- Make sure you have node js already installed.
- Basic knowledge of React js is required.
- Basic understanding of the terminal is also required.
Initialize create-react-app
Create React App (CRA) is a tool used to create React applications. Running the CRA script generate the files and folders required to start the React application and run it in the browser. To initialize React, open the terminal and type the code below. Replace "blog-name" in the command with the name of your blog
npx create-react-app blog-name
Change directory to get inside the blog’s folder:
cd blog-name
Start the React server with:
npm start
Open your browser and visit http://localhost:3000 to confirm the React application is running.
Install dependencies
In this project, we are going to need two dependencies to get started. Basically, react-router-dom and polyblog-js-client. We will use react-router-dom to create the routes for our blog and polyblog-js-client to fetch articles from Polyblog. Execute the following command to install react-router-dom and polyblog-js-client packages:
npm install react-router-dom @polyblog/polyblog-js-client
Create routes to fetch and display articles
In our App.js file inside the 'src' folder, we need to create the routes to display the articles using react-router-dom. We also need to import our respective files in the 'src' folder (HomePage.jsx and ArticlePage.jsx which we will create later) to display the desired page. App.js - Replace the code inside the 'src' folder of App.js with the code below.
//src/App.js

import HomePage from './HomePage';
import ArticlePage from './ArticlePage';
import {
  BrowserRouter as Router,
  Routes,
  Route,
  Navigate
} from 'react-router-dom';
function App() {
  return (
    <Router>
      <Routes>
        <Route path="/" element={<Navigate to="/en" /> } exact />
        <Route path="/:locale" element={<HomePage />} />
        <Route path="/:locale/:slug" element={<ArticlePage />} />
      </Routes>
    </Router>
  )
}

export default App
To create the routes, we import BrowserRouter, Routes, Route and Navigate from react-router-dom. We will create two routes:
- A route to display all the articles according to the language
- A route to display the full details of a single article.
The landing page route will be redirected to the first route. The routes will be in these shapes:
- /locale (displaying articles with respect to a selected language)
- /locale/slug (displaying single detailed article with respect to a selected language)
locale varies because of the different languages available so locale should be a dynamic variable. Same applies to slug, due to the different slugs of the various articles. Hence, making the routes dynamic:
- /:locale
- /:locale/:slug
To get the locale and slug values, the useParams react hook will be used to obtain the values at the respective routes. Check Homepage.jsx and ArticlePage.jsx below.
Create a component to fetch the articles from the API
Let's create a file inside the src folder and name it HomePage.jsx. It will display all the articles according to a specific language.
Inside the HomePage.jsx file, let’s fetch the articles from the Polyblog API and display them.
HomePage.jsx - Replace the code inside the src folder of HomePage.jsx with the code below
// src/HomePage.jsx

import { getArticles } from '@polyblog/polyblog-js-client';
import { useState, useEffect } from 'react';
import { useParams, Link } from 'react-router-dom';

const HomePage = () => {
  const [articles, setArticles] = useState();
  const { locale } = useParams();

  useEffect(() => {
    if (articles) return
    const fetchArticles = async () => {
      // signup at https://app.polyblog.io/signup to get your blogId
      // you can find YOUR_BLOG_ID in the Settings page of Polyblog
      let articles = await getArticles({
        blogId: 'YOUR_BLOG_ID',
        locale,
        published: true,
        sortDirection: 'DESC',
      })
      console.log({ articles })
      setArticles(articles)
    }

    fetchArticles()
  }, [articles, locale])
  return (
    <div>
      <div>
        <h1 style={{textAlign: 'center'}}>Recent Articles</h1>
        <div style={{display: 'flex', flexWrap: 'wrap', justifyContent: 'space-evenly'}}>
          {articles?.map(article => (
            article.locale === locale &&
            <Link
              style={{width: '28%', marginBottom: '2rem', border: '1px solid gray'}}
              to={{ pathname: `/${article.locale}/${article.slug}`}}
              key={article._id}
            >
              <div>
                <div>
                  <img src={article?.coverUrl} alt={article.title} style={{width: '100%', height: '200px'}} />
                </div>
                <div>
                  <span>{article.author} </span>
                  <span>
                  {
                    new Date(article.creationTime).toLocaleString(article.locale, {
                    dateStyle: 'long' })
                  }
                 </span>
                 <h3>{article.title}</h3>
                 <p>{article.description}</p>
                </div>
              </div>
            </Link>
          ))}
        </div>
      </div>
    </div>
  )
}

export default HomePage
- Signup with Polyblog at https://app.polyblog.io/signup
- After signing up, click on 'Settings' in the Polyblog dashboard to find your 'Blog id' (eg. 1234567890abcdef12345678)
- Replace YOUR_BLOG_ID with your 'Blog id' in the code above
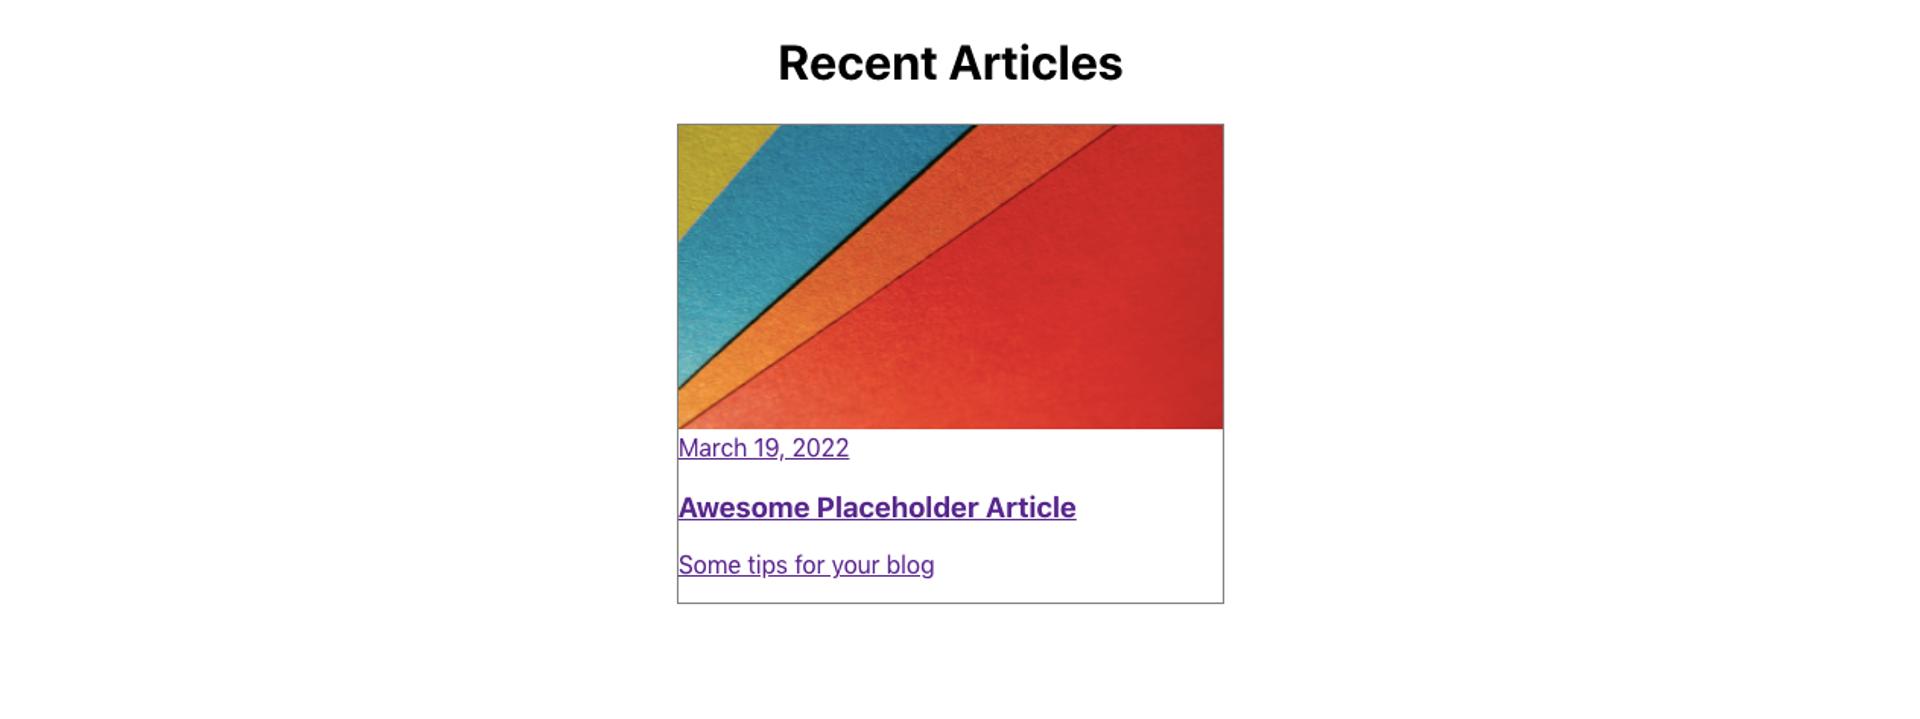
To display the articles in english, open your browser and visit the url http://localhost:3000/en and to display spanish articles, visit the url http://localhost:3000/es.
Display an article
Let's create another file inside the src folder. We will call it ArticlePage.jsx. It wiill display the full details of a single article. Inside our ArtilclePage.jsx, let’s fetch a single article and display its details. ArticlePage.jsx *- Replace the code inside the ****src ***folder of ArticlePage.jsx with the code below Copy the 'blog Id' we used in the previous step and replace it with 'YOUR_BLOG_ID' in the code below.
// src/ArticlePage.jsx

import { getArticles } from '@polyblog/polyblog-js-client';
import { useState, useEffect } from 'react';
import { useParams, Link } from 'react-router-dom';

const ArticlePage = () => {
  const [article, setArticle] = useState();
  const { locale, slug } = useParams();

  useEffect(() => {
    if (article) return
    const fetchArticle = async () => {
      let articles = await getArticles({
        blogId: 'YOUR_BLOG_ID',
        locale,
        slug,
      })
      let singleArticle = articles?.[0]
      setArticle(singleArticle)
    }
    fetchArticle()
  }, [article, locale, slug])
  return (
    <div style={{width: '80%', margin: '0 auto'}}>
      <div>
        <h3>
          <Link to="/">Blog</Link>
        </h3>
        <img src={article?.coverUrl} alt={article?.title} style={{width: '80%', margin: '0 auto'}} />
        <div>
          <h1>{article?.title}</h1>
          <h3>{article?.description}</h3>
          <i>
            Posted by <span> {article?.author}</span> on
           <span>
             {new Date(article?.creationTime).toLocaleString(locale, {dateStyle: 'long'})}
            </span>
          </i>
        </div>
      </div>
      <div>
        <div dangerouslySetInnerHTML = {{ __html: article?.content }} />
      </div>
    </div>
  )
}

export default ArticlePage
To display a single detailed article, you can click on any of the articles in the above HomePage.jsx page or you can do it manually by going to the url http://localhost:3000/en/:slug to display a single detailed english article and http://localhost:3000/es/:slug to display a single detailed spanish article. The :slug parameter in the url above is a dynamic variable which in this case, is the title of the individual article you want display at that url. Hence, replace ":slug" with the title of the article you want to display.

Conclusion
And there we go! We have successfully created our multilingual blog in a twinkle of an eye. We can translate the blog in different languages and take our content marketing to the next level! A multi-language blog is usually difficult to build but with Polyblog, we can easily build a blog with complex functionalities in a short time. This post is just the tip of the iceberg considering the amount of things that could be done with Polyblog. I hope this article has helped you to understand how a multi-language blog can be created with React. A working example of this project can be found at this github repo. You can find out more about the API parameters supported in the API Reference Thanks for reading!
